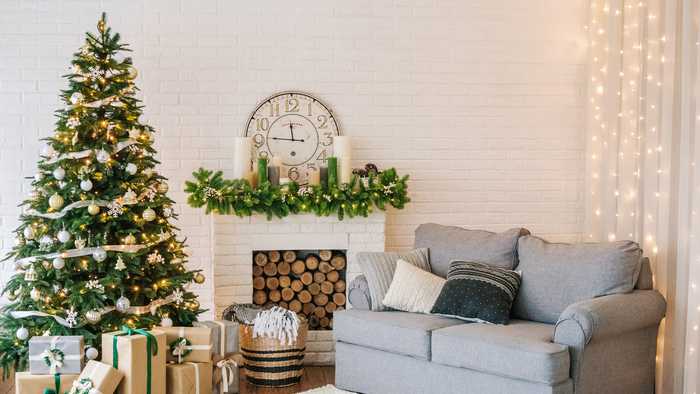
Step-by-Step: How To Decorate An Insta-Worthy Christmas Tree
Dazzling displays of festive fir trees are already splashed across social media and it’s enough to bring out the green-eyed monster. No, I’m not talking about the Grinch. Those well-dressed Christmas trees, fit for the Selfridges window display, are enviably perfect. But how do they do it?
Follow my step-by-step guide for decorating an Insta-worthy Christmas tree:
Step One: Fluff the branches
So, you’ve done the easy bit. You’ve bought your Christmas tree and brought it home, ready to decorate. Before you start loading the branches with decorative ornaments, there are a few things that will help make the most of your tree.
If you have an artificial tree: Build the tree as per the manufacturer’s instructions. Then, take time to properly spread the branches, fluffing the artificial needles as you go to achieve a full and symmetrical shape.
If you have a real tree (unpotted): When you get home, before you remove the netting, cut 1 inch off the bottom of the trunk. This “breaks the natural seal” and allows the tree to absorb more water. Bear in mind that real trees drink between 2 pints to a gallon of water each day. Once you have broken the natural seal, secure the tree in its base and move it inside. Remove the netting and give the tree 24 hours to acclimatise to the ambient temperature of the house before decorating. This allows the branches to settle.
If you have a real tree (potted): Bear in mind that real trees drink between 2 pints to a gallon of water each day. Remove the netting and give the tree 24 hours to acclimatise to the ambient temperature of the house before decorating.
Remember: Do not keep your real tree near radiators that will be on throughout the festive season.
Step Two: Choose a colour scheme or theme
It’s a Christmas tree! Why do you need a whole scheme or theme?
The perfectly decorated Christmas tree is brought together by complimentary colours and/or a consistent theme. There are so many gorgeous ideas to choose from, so I’ve highlighted a few of my favourites below:
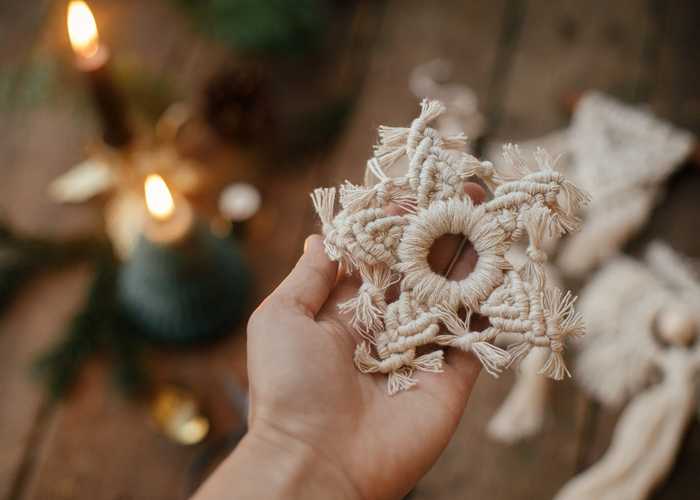
BOHO-HO
For the ultimate boho-chic Christmas tree, you’ll need:
- Rustic ornaments made from natural materials
- Macrame decorations or tassles
- Warm white lights
- Hessian bows
- Neutral coloured feathers or fluffy pom-poms
- Natural tree picks
- A few barely-there gold baubles
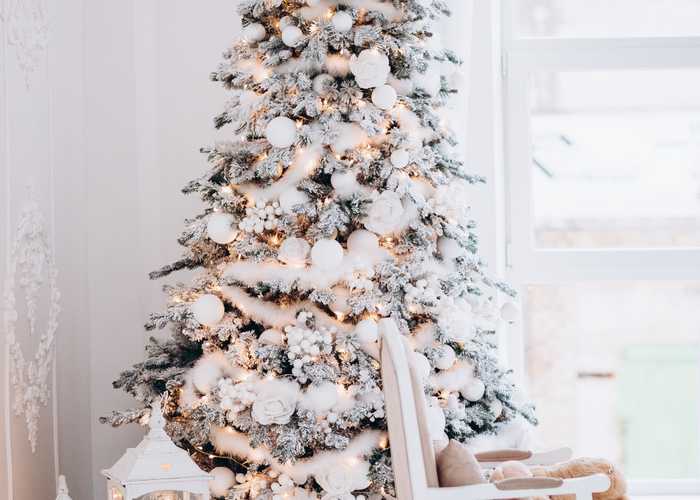
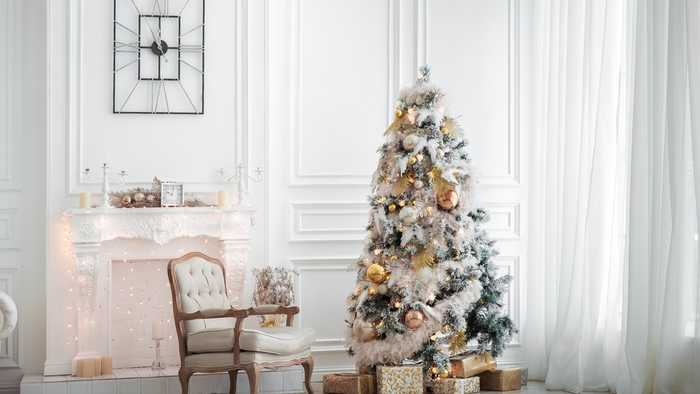
WHITE CHRISTMAS
If you’re dreaming of a white Christmas, you’ll need:
- Snow spray
- White baubles in different sizes and textures
- Pale silver baubles in different sizes and textures
- Pale pink / rose baubles in different sizes and textures
- Ornaments or bows in white or pale silver / pink / rose
- White faux fur tree garland or white feather tree boa
- Warm white lights
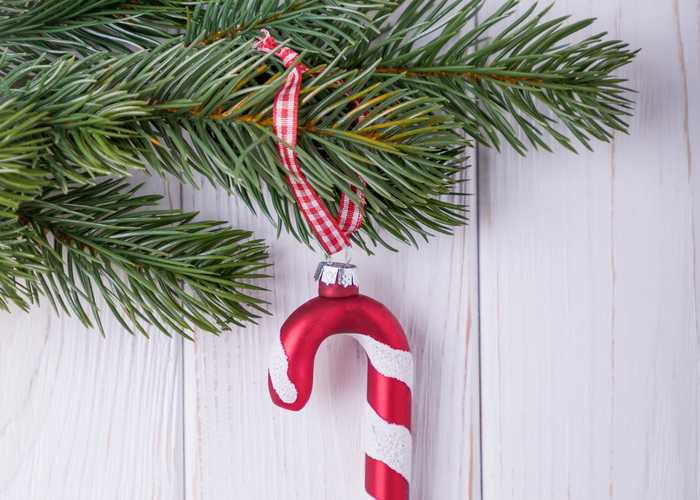
SWEET TREAT
This looks particularly great on an artificial tree with white tinsel branches. If you’ve got a sweet tooth, you’ll need:
- Candy canes and candy cane ornaments
- Red, white, and silver baubles in different sizes and textures
- Red bows
- Bright white lights
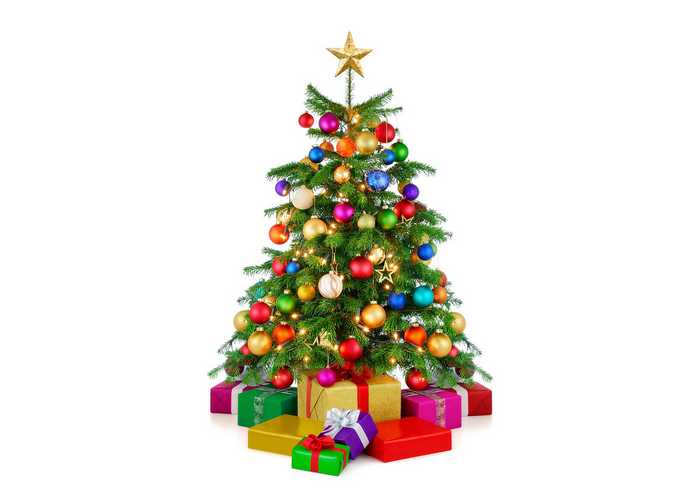
FELIZ NAVIDAD
For those with a lust for luxuriously opulent tones, you’ll need:
- Multicoloured lights
- A golden star tree topper
- An array of colourful baubles in different sizes and textures
- Fiesta-themed ornaments: pinatas, pom-poms, sombreros, cacti
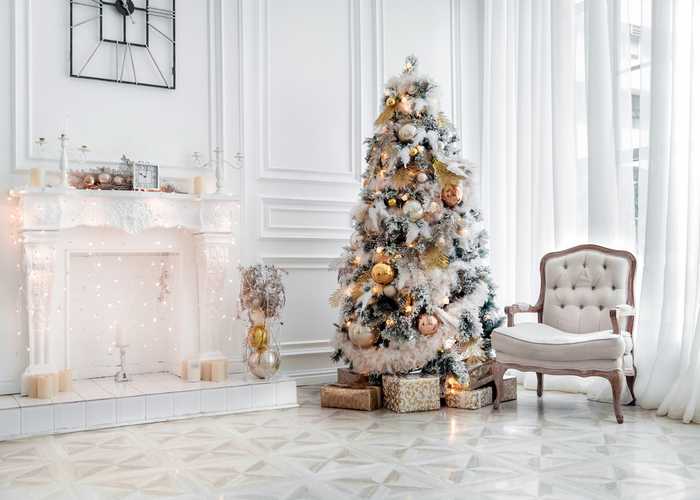
GOLDEN WONDER
If you prefer an air of traditional sophistication, you’ll need:
- Warm white lights
- Gold baubles in different sizes and textures
- White faux fur tree garland or feather tree boa
- Gold tree picks, particularly leaves
Step Three: Light it up
There is so much to consider when lighting your Christmas tree:
- Which colour will best suit my interior theme?
- How brightly lit do I want my tree?
- Do I prefer static or moving lights?
- How will I place the lights on my tree?
The answers to which are as follows:
- See ‘Step Two’ for which colour lights might best suit your theme
- For a more brightly lit tree, pack in more lights. For a tree that humbly sparkles, use less
- Most lights these days come with a switch to flip between static and moving lights, so you can have your cake and eat it (so to speak!)
- For the last point, there is somewhat of a debate…
Hands up if you wind your lights around the tree in a spiral.
Would you believe that professional tree decorators swear by a different method? In fact, they zig zag the lights up and down, a la Rockerfeller’s Christmas tree.
Another method that’s swiftly becoming a firm favourite is to create a random path for the string of lights.
Or, lastly, you could try wrapping branches in lights to ensure not one is missed.
Once you’ve hung your lights, turn them on to check they are evenly distributed. If not, adjust them before you move onto the next step.
Step Four: Garlands, Boas, and Tinsel
Now’s the time to weave in your garlands, boas, or tinsels. If you wait until you’ve put your ornaments on the tree, you risk knocking them off. This way, you can easily nestle your decorations into the branches, winding them up around the tree. Once you’ve got a rough placement, turn the lights on and ensure that your garlands, boas, or tinsels are not hiding your perfectly positioned lights.

Step Five: Find the balance
Time to hang your baubles and ornaments, and it is important to think about the balance. Everything should be well spaced out, with bigger or heavier decorations closer to the bottom of the centre of the tree. Equally, smaller, more delicate ornaments fit better towards the outer branches and the top of the tree.
Design experts suggest hanging baubles in clusters of three, six, nine, or twelve, placing similar baubles together or use contrasting pieces for added interest.
Any particularly delicate ornaments should be hung at the top of the tree to avoid breakages. And, if you have any decorations which hold a special meaning to you, place those last. This ensures they will be seen by all.

Step Six: Wrap it in a bow
Ribbons with wired edges can be tied into the most luxurious bows that will hold their shape throughout the festive season. Carefully attach your bows to the ends of branches, spreading them out evenly to create balance. You might choose to use two types of bows, of varying colours, lengths, and textures for extra pizazz.
Complete the main body of the tree with a selection of tree picks, scattering them throughout the branches to add splashes of colour or a final touch of opulence.
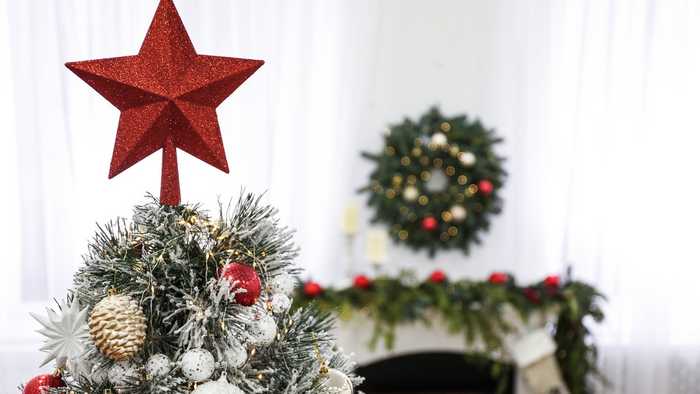
Step Seven: The cherry on top
Placing the topper on the Christmas tree is one of the greatest honours in decorating tradition. Whether you opt for a star, bow, angel, or something entirely different, make sure it ties into your theme and complements your tree décor.
Hopefully you caught our last blog and left enough space between the tree top and the ceiling. If not, leave the topper in its box. Instead, keep the upper section of your tree densely populated by baubles, ornaments, bows, and garlands so it blends seamlessly with the lower boughs.

Step Eight: Skirts, trains, or saving room for Santa
Not obligatory by any means, but tree skirts are both decorative and functional. They cover the unsightly bottom of the tree and collect any needles that drop. But, if tree skirts aren’t your cup of tea, you could opt for a decorative tree stand instead, or even a train set. However, I won’t judge you if you choose to skip this last step and save more space for Santa to leave presents under the tree.
HOW CAN WE HELP?
We know that the devil is in the detail, so you can rely on us for any home renovations you have planned. If you’d like to get in touch with the team here at Maidenhead, to discuss any upcoming ventures, please drop us a line!
Posted by Wouter De Jager on December 3rd 2021